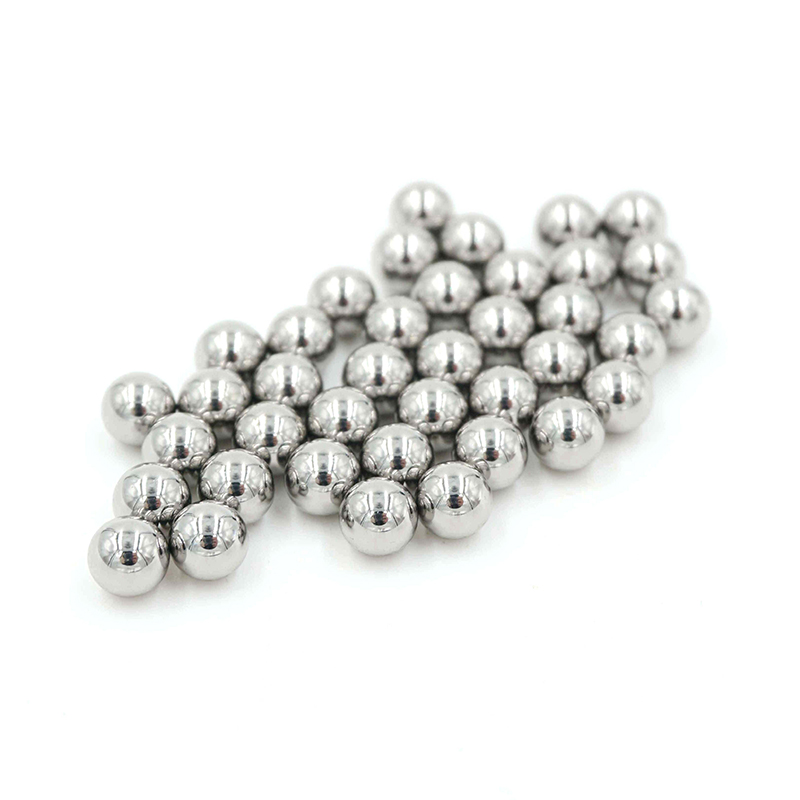
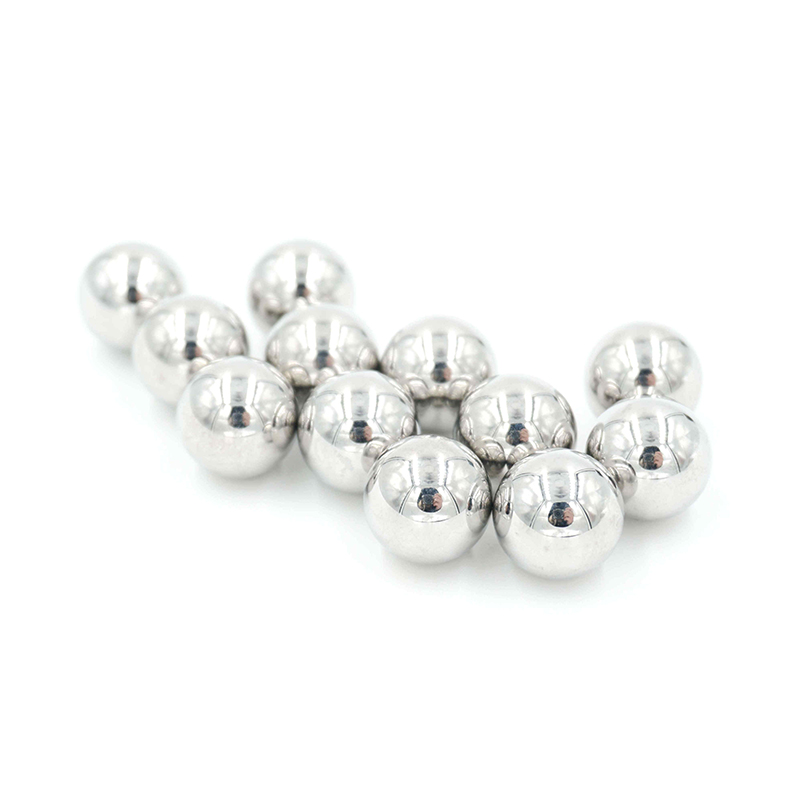
Both precision grinding and super precision grinding are final processing procedures of steel balls. Super precision grinding procedures are generally used for steel balls higher than G40. The final size deviation, geometric accuracy, surface roughness, surface quality, burn and other technical requirements of the steel ball shall meet the requirements of the process specification of the finishing or super finishing process.
When checking the diameter deviation and geometric accuracy of the steel ball, it must be measured on the specified special instrument. The surface roughness and surface quality of the workpiece after fine grinding are generally inspected visually under the astigmatic lamp. In case of dispute, it can be checked under a 90x magnifying glass and compared with the corresponding standard photos. For the inspection of workpiece surface quality and surface roughness after superfinishing, a certain number of workpieces must be taken for comparison with standard photos under 90 times magnifier. If there is any doubt about the surface roughness, it can be tested on the surface roughness meter.
The burn inspection method of fine and super fine grinding shall adopt random sampling and spot check, and the quantity and quality standard of spot check shall conform to the burn standard.
The reasons for poor surface roughness are:
1. The processing quantity is too small and the processing time is too short.
2. The groove of the grinding plate is too shallow, and the contact surface between the groove and the workpiece is too small.
3. The hardness of the grinding plate is too high or uneven, and there are sand holes and air holes.
4. Too much grinding paste is added, or the abrasive grains are too coarse.
5. The groove of the grinding plate is too dirty, with iron chips or other debris.


The reasons for poor local surface roughness are: the groove of the rotating grinding plate is too shallow, and the contact area of the workpiece is too small; The angle of the grinding plate groove is too small, which makes the workpiece rotate inflexibly; The pressure applied by the upper lapping plate is too small, which makes the workpiece slip with the lapping plate.
Abrasion on the surface is also a kind of defect, which often occurs in the cyclic processing. In serious cases, a certain depth of dent can be clearly seen under the astigmatic lamp. Only a piece of black or yellow can be seen under the light astigmatism. However, under the 90x magnifying glass, the pits can be seen, the lower part of which is rough with interlaced scratches. The causes are as follows: the groove depth of the grinding plate is different, the workpiece in the deeper groove is subject to small pressure, sometimes stays and sometimes slides, causing the contact between the workpiece and the grinding plate to be abraded; The workpiece will be abraded due to falling blocks on the groove wall of the grinding plate.
Post time: Sep-26-2022


